Painting the Patchwork Room

Painting the ceiling in the Living Room resulted in my shoulder going numb and not being able to turn my head left for three days. But it was so worth it! The living room is the first room we started taking down the acoustic spray in so we were definitely still cautions of the amount of water we used. As a result, there was a lot more dust left on the ceiling. You can brush, vacuum, and tacky cloth that ceiling till your arms fall off, there’s no way to get all the dust off without replacing the drywall. Since that wasn’t happening, I started painting.

Paint is essentially pigmented glue. The better quality (read: more expensive) your paint is, the more “glue-like” the paint will be. It is for this exact reason I bought the best paint I could afford for the ceilings. A professional painted would probably shudder at the thought, but I basically painted the dust. But, considering this dust is actually plaster dust, my hope is that the paint saturated the dust and glued it to the ceiling. Honestly, I don’t think it’s going to last long without peeling, but you have to work with what you’ve got, right?

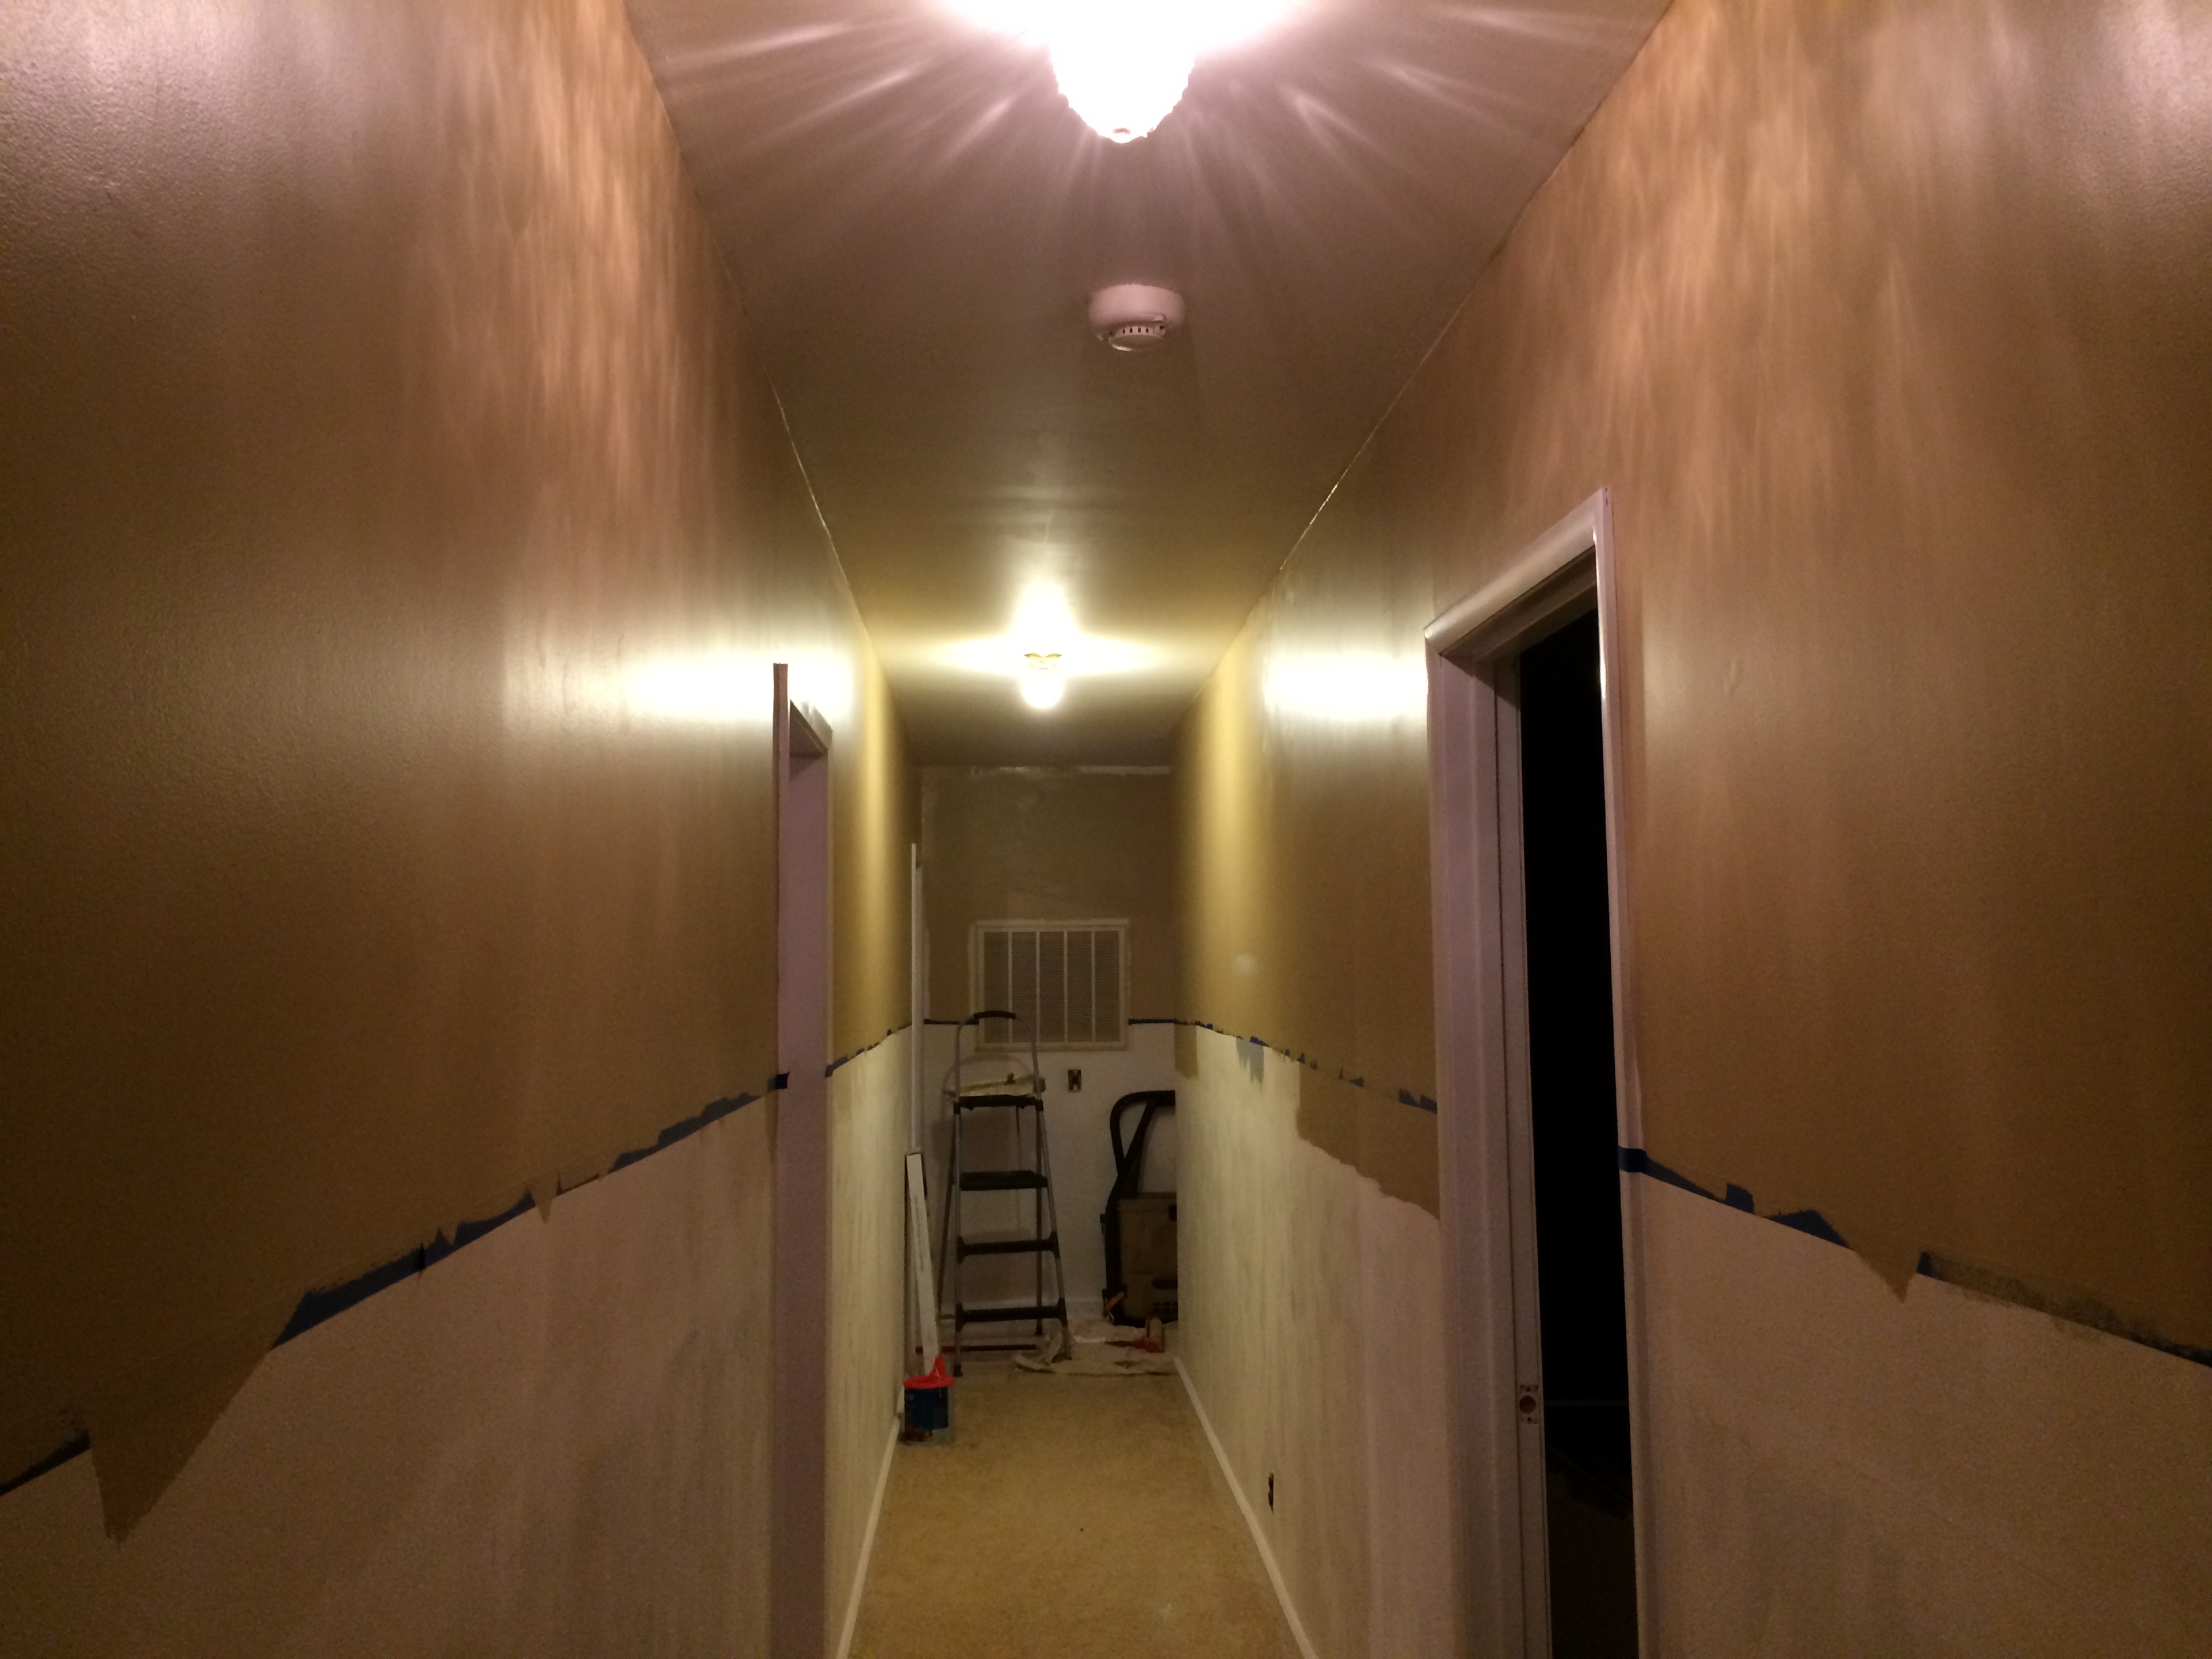
I’m not sure why I keep taking pictures of wet paint because it looks terrible, but here’s what I’ve got:

From iPhone 002_USED

I love that my walls look like an artist pallet, makes the before and after that much better.

It’s going to need a second coat, but that’s going to have to wait till my arms don’t feel like jello anymore.

From iPhone 009_USED

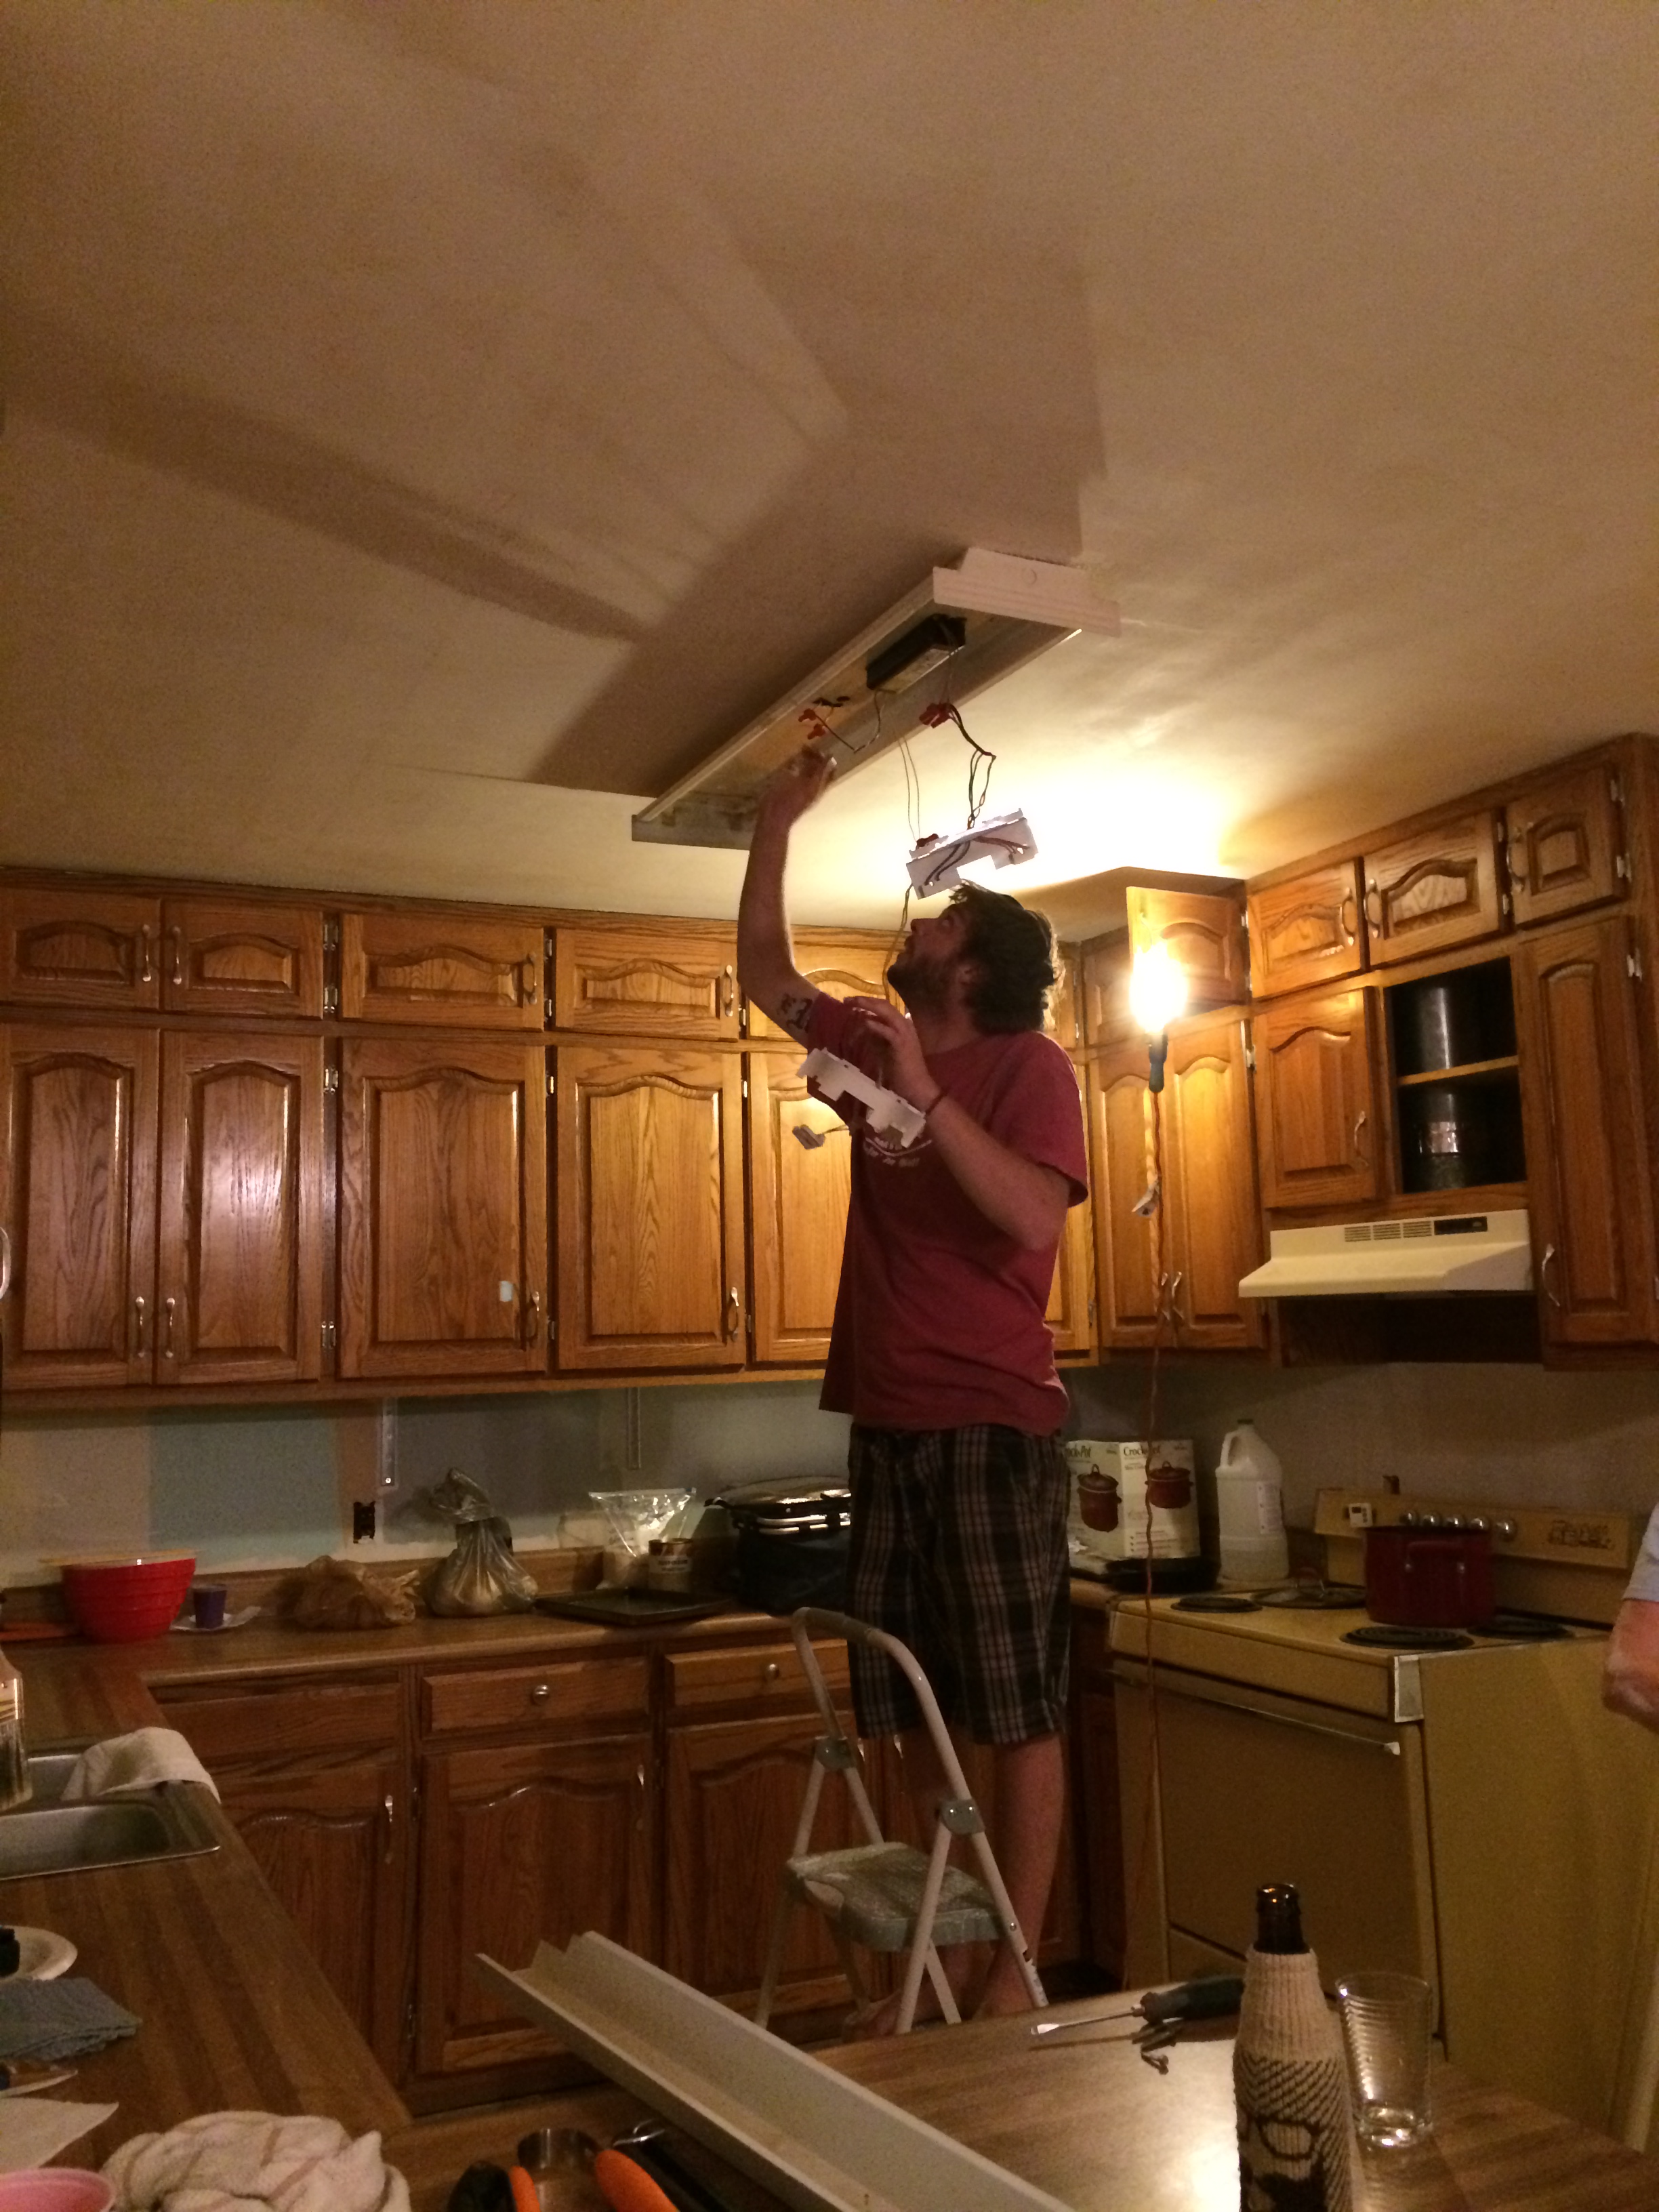
I would like  to point out that Bob got up on a ladder and cut in the ceiling paint for me, I hate cutting in the ceiling so that was awesome.

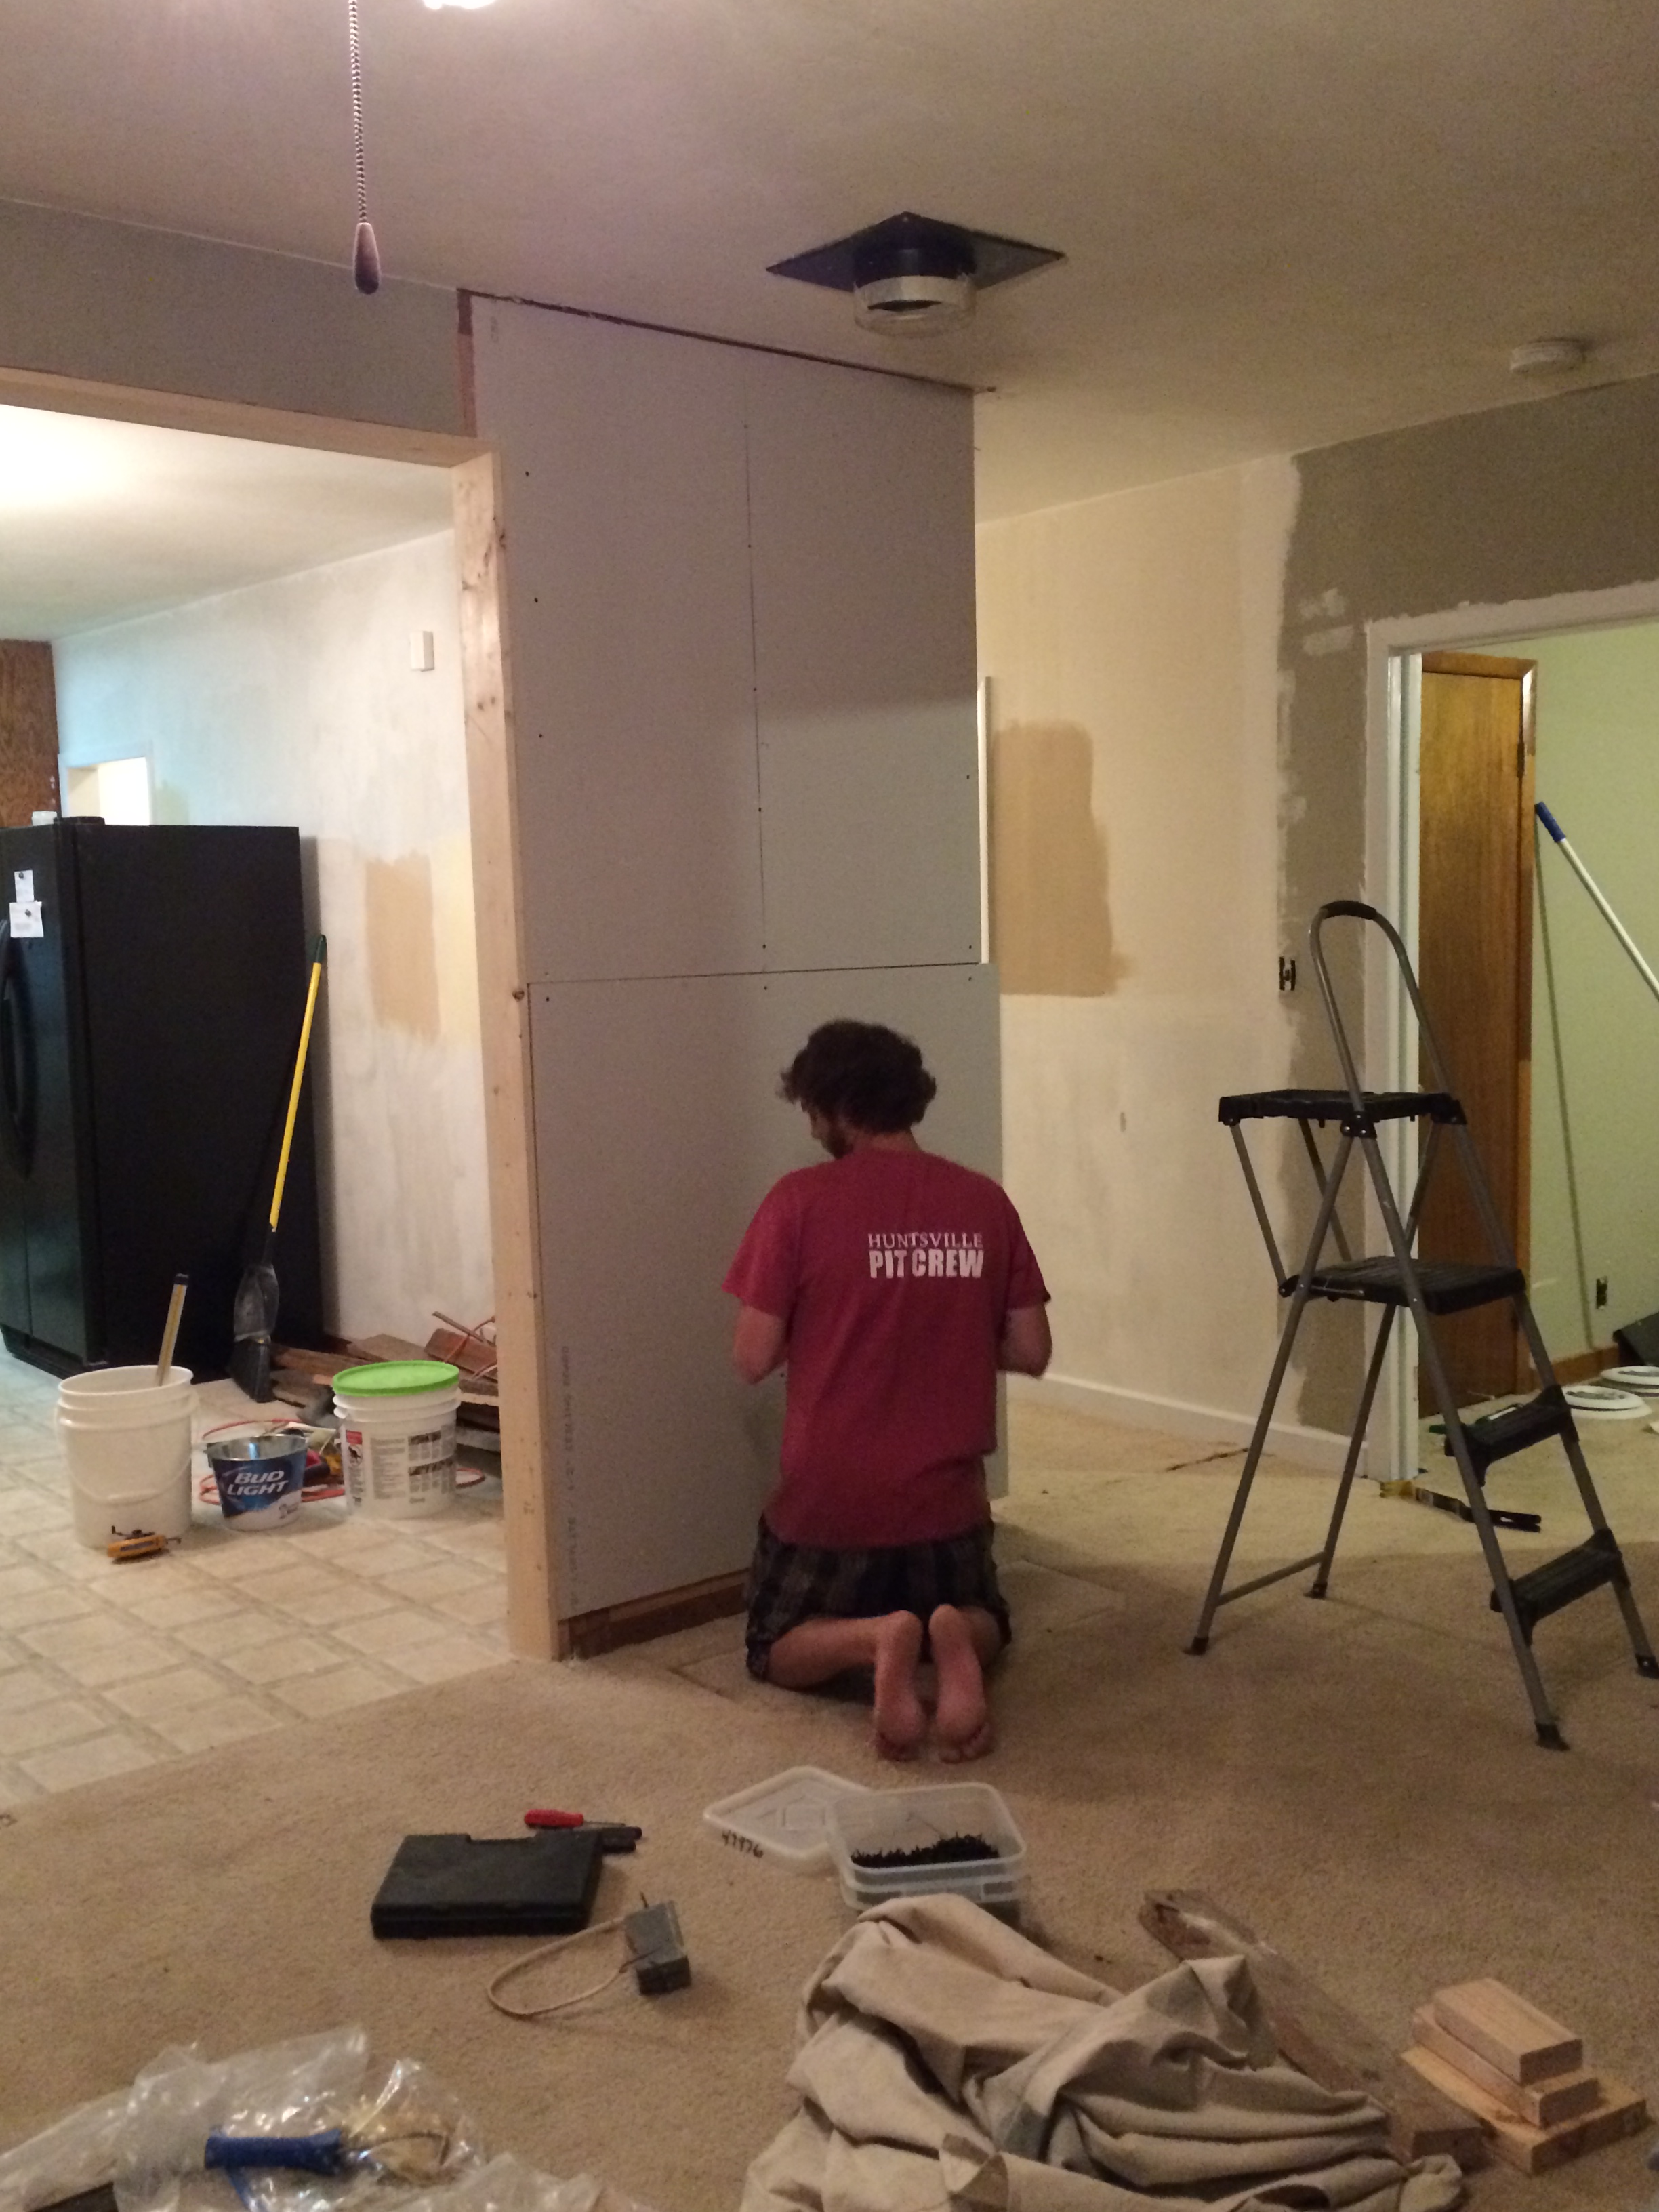
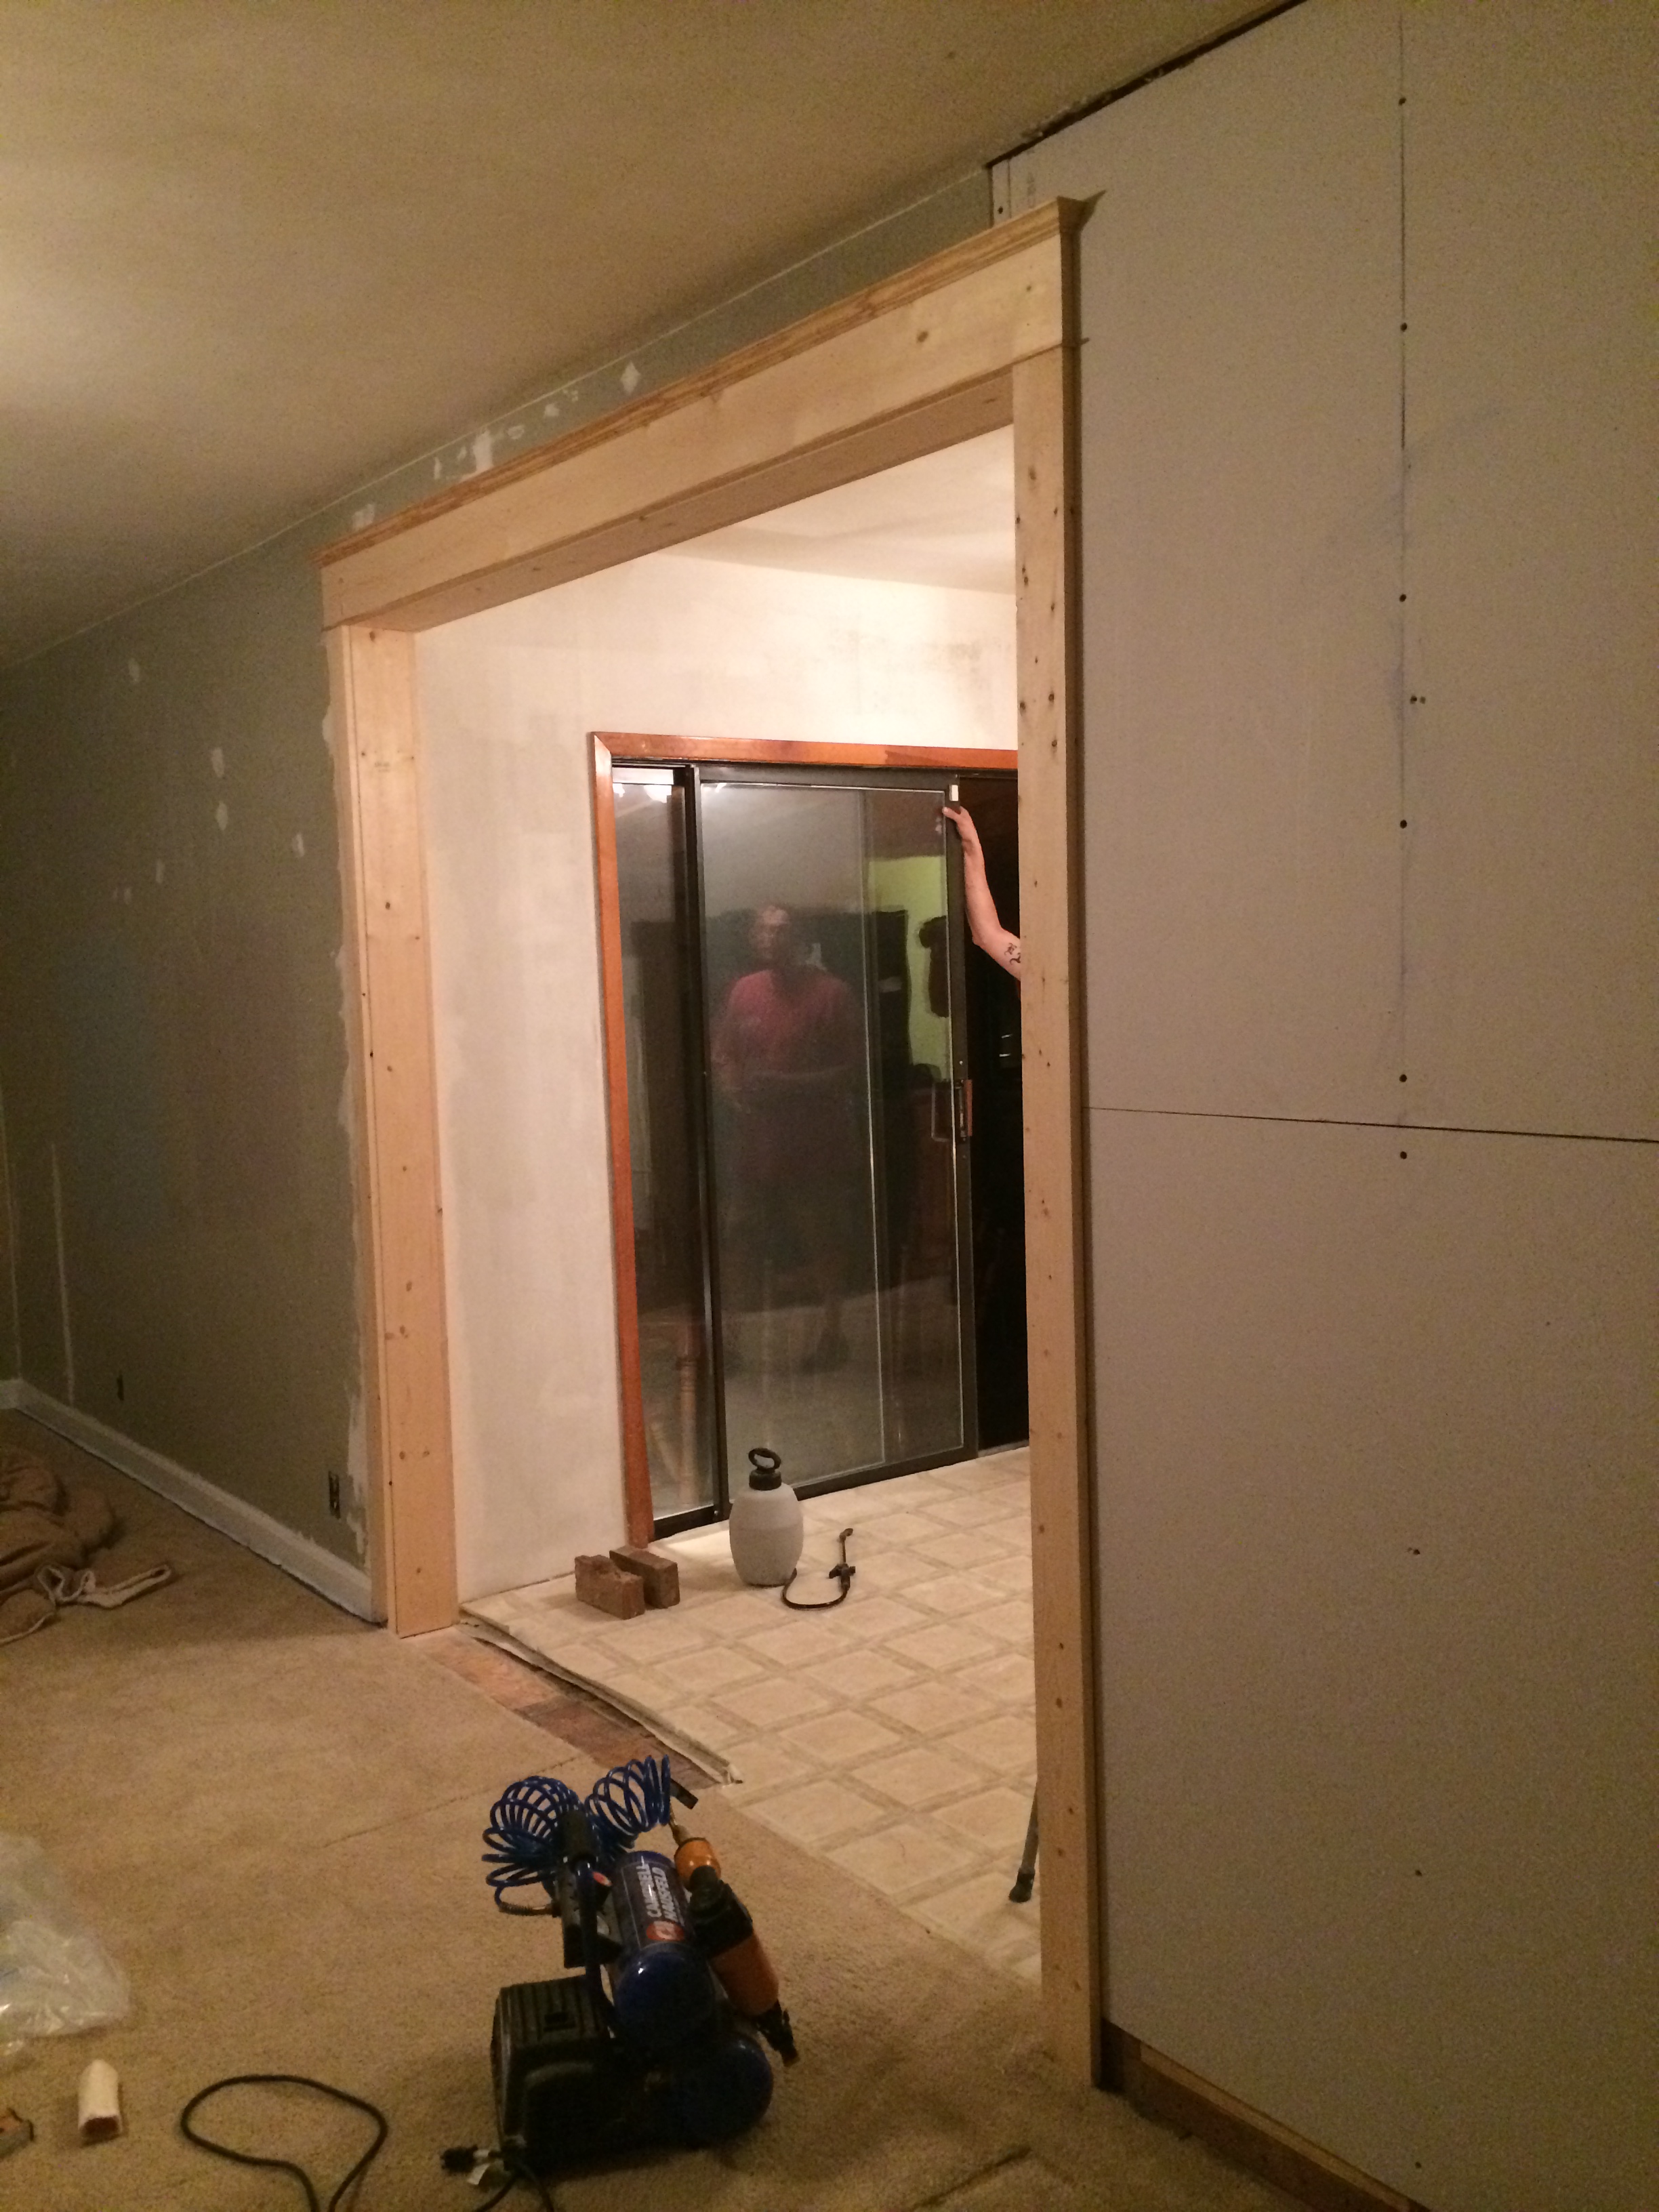
As the ceiling paint got rolled out, Mom went to work on the new doorway trim! I had previously caulked the joints and filled in the nail holes and Mom gave it a light sanding. It looks amazing!
From iPhone 008_USED

There was one part of the ceiling that had a little bit of acoustic spray left on it and I remember hastily scrapping it down. Evidently I never wiped off any of the dust because when I went over it with my paint roller I evened up with little sheets of paint covered dust on the roller. I started to peel back the little layers hoping to get to a sport where it stopped peeling, it didn’t. So I left it to dry and get back to later with a light sanding and another coat of paint.

From iPhone 014_USED

Ack! Worst nightmare.

Next on the agenda, cutting in along the ceiling, corners, baseboard, and trim. Because of the dust + tape fiesco of Aug 14′, I do all cutting in by hand now. This is not as difficult as you might think and I actually came in with a cleaner line. The corners where the ceiling and walls meet in the living room are a lot smoother than in the hallway so it looks much better in here, plus I have gotten a lot more practice since then. I may go back and do the hallway later (my crown molding dreams are probably a ways off).

From iPhone 013_USED

And we’re ready to paint the walls!

Painting Exterior Door

Eventually the standard steel doors will be replaced. For now, they will be painted. I haven’t painted the back door yet, just the front, but I don’t have a “before” picture of the front door. It pretty much looked like this one but not quite as dirty.Whats left in hall_USED Jun9

We took the door down, you really can’t paint a door on it’s hinges and expect it to look good. In my humble opinion 🙂 I then used a 120 grit sandpaper to rough it up as well as loosen the dirt and grim that has built up over the years. I also tried to get most of the rust off with the sandpaper because even though I was using a good quality paint + primer, the amount of rust would eventually bleed through the paint. I used the vacuum cleaner and tacky cloth to get the dust up, then cleaned it with an all purpose spray.

Yes I am painting the door directly on our carpet. I’m a rebel. We don’t plan on keeping this carpet for too long but I was still very careful to not spill. It’s also one of the more awesome points of owning your own house, if you want to paint a door on the carpet then you can totally paint a door on your carpet! Anyway, I did a bit of research about painting doors because I didn’t want any brush marks. What I found essentially is that you want to paint in very thin coats, starting with the boxes. That way, you can feather out any drips or pools of paint without worrying about touching drying paint with the brush. After that I used a foam roller to paint the rest of the door. I did three thin coats.

From iPhone 004_USED

I painted the door handle and hinges earlier that morning. So all I had to do was wait for the door to dry and hang it back up! This was about the time Evan dropped the Little Giant ladder on his toe. For those of you not familiar with the Little Giant, it looks like this:

Little Giant Ladder

It’s actually pretty smart, the middle part extents up to make a tall A-frame ladder. Problem is, when you’re taking it down there’s no safety that keeps the ladder from coming all the way to the ground in one toe-guillotine motion. So off to the hospital we go to save Evan’s little toe. They managed to save most of it. I’d like to take this moment for a very important PSA: The disassembling of the Little Giant ladder is a two person operation :).

His toe was pretty smashed up so I’ll spare you, but here’s a picture of the picture of his toe, it’s broken in six (!) places. That thing that looks like it could be a toe nail is a toe nail. He doesn’t have that anymore…

From iPhone 016_USED

So Mom and Bob came to our rescue and put the front door back up for us! They did a great job. Just a few finishing touches left, like painting the other side of the hinges (duh), and putting the hardware back on the storm door. Otherwise, a grand improvement:

From iPhone 016

I only have this one picture that I took at dusk…I will take another one soon.

And for my Next Trick…

I call this one, “Sticking to the Budget!”

The stainless steel sink in the kitchen may have come from a little kid’s playhouse. it’s a double sink but approximately 10″ deep..it’s a joke. We went to the Habitat for Humanity ReStore–which is an awesome place if you’ve never been to one–in search for a window to replace the broken one in the shop. That’s when we came across this,

From iPhone 010_USED

That’s right, $25!! So proud of us! There are many reasons this sink is awesome, one, it’s extra deep, two, its the same size as our current sink so no cutting of the current counters required.

It’s made by American Standard, which I think most of us know and love. After doing a bit of research I have found the manual for it, it’s Ameriacast, which has been around for about 25 years. It’s meant to be a replacement for heavy and expensive cast iron (I can lift this thing myself!). Although they say that Ameriacast has the same thickness and durability as cast iron (but with much better sound absorption), the porcelain coating scratches very easily, exposing the black underneath. But for 25 bucks I can seriously live with some scratches. Plus, our water leaves spots on the stainless-steel sink so this will look cleaner even with scratches.

I was able to find the product that American Standard sends out to repair their other Ameriacast products (namely bathtubs and bathroom sinks), called Porca-fix on Amazon. So I think it will clean up nicely. This was a HUGE find in my opinion, because I knew we needed a new sink and it would likely be the largest purchase we made for the kitchen. Now we can use those savings for a new oven! yay

Down to the Floor Boards

I have become super obsessed with our hardwood floors. I need the who, what, where, when, and why of it all. Well, mostly just the why and where. From what we’ve uncovered so far, it seems that on every wall (exterior and interior) there is a cut out ranging from 1-3 feet (wider on exterior walls). So here is the current theory: they had to re-do the foundation. The front stoop has a stone foundation, so at some point the house probably had a stone foundation as well, it’s cinderblock now. Since the crawl space is only 10 inches they would likely have had to cut into the floors to get access.

From iPhone 001_USED

I was watching a show on HGTV where a couple buys houses in cash and flips them, the house they bought had “wavy” floors, as they called them. They  had to cut open the floors and put jacks in. The end result to their floors looked quite similar to ours now. So that’s part of the theory as well, because it’s clear that there are beams under the house.

From iPhone 005_USED

We have done some pulling back of carpet, peeling of vinyl, knocking down of walls :), and here is what has been discovered so far:

-Above is one half of the living room, the plywood comes out from the far wall about 4 feet.

-The master bedroom has some wood,

From iPhone 016_USED

It has plywood a few feet in on the other walls.

-There’s unfinished wood in the kitchen. This picture is from behind the stove. We know for sure there’s plywood by the sliding door but we haven’t taken up any more vinyl than that so far.

From iPhone 013_USED

-There’s more unfinished wood in the bathroom, unfortunately the vinyl is sticking much worse here, probably due to moisture. But that will all come right off with a sander. From our shower link I know the shower is sitting on plywood, but hopefully that’s the only place in this room. Some may say you shouldn’t have wood floors in a bathroom but this wood has character, seeled correctly it will hold up fine, and I don’t want it to look perfect anyway.

From iPhone 1613

-There’s also more wood floors with the same plywood pattern in the guest room.

-The hallway is wood up till the halfway point. And I’ve only taken up a small corner in the laundry room but I think it’s plywood as well. Which is all fine, I want slate tile in the laundry room and the back hallway anyway.

What I hope we can do down the road is repair the wood ourselves. Take up the plywood and put new wood pieces in, then hire professionals to do the sanding and refinishing. This will save us a lot of money. Hopefully it won’t be too difficult; the pieces are short (about 18 inches each, which I absolutely adore), which seems like it would be easier than long planks of wood. We will likely start in the guest room to try/practice and see how it goes.

The wood floors are really a five year goal, I just can’t resist the urge to peel back any and all loose flooring in the house! But luckily the carpet and vinyl are in decent shape, so they’ll have to do for now!

All the Right Water in All the Wrong Places

We had a leak! It doesn’t look that bad in the picture because I had just mopped up the water with a towel, but it was flowing out from under the wall. Ah.

From iPhone 002

But it turned out to not be a big deal :). There’s an access panel in the closet of the guest room, we took that out and here’s what our shower looks like from the outside.

From iPhone 006

Our shower is super narrow so I was excited to see that there’s enough space here to get a bigger shower or tile it in at some point.


See the threads on the inside of the shower drain? That’s where the metal part of the drain screws in to. If the drain begins to unscrew, you create a gap between the pipe and the shower. When we took the drain off we could see a clog which probably created a lot of pressure–especially since our pipe comes out from the shower at a 90 degree angle and then goes into the floor–which likely caused the drain to unscrew. Easy fix this time, we tightened the drain back up and were good to go!

2014-09-11 From iPhone


In Other News…

From iPhone 006_USED

We’ve got a waterfall feature, so lovely.

Evan cleaned the gutters out less than two months ago :/ We need some gutter guards.

From iPhone 002_USED

My paint corner!

If you’re going to repaint an entire house (and for any big project, really) staying organized is CRITICAL. I have already accumulated more painting supplies than I thought I would EVER own, but I’ve used every single thing in the picture, plus two cabinets on the other wall. Not being able to find the right tool right when you need it get’s old fast. Now if only I can keep all the tools from sprouting legs and walking away…


Mom and I went yard sailing (one of our favorite things to do), and we went to a house that had so many elements I hope to add to our house one day. This is slightly creepy, hopefully, these people won’t mind that I’m posting pictures of their house…

I think the colors and textures they used are really pretty. Horizontal vinyl (or wood) siding painted a soft blue-gray, brick (probably part of the original house), stone veneer, and gray shingles.

From iPhone 003_USED

From iPhone 004_USED

These are the exact porch supports I’ve been picturing in my head. Right now we have the old metal “vine” type of supports, which aren’t awful but definitely not helping modernize. I want to box them in and add some stone, hopefully the same stone veneer that we can cover the foundation with too. Eventually, we want to build a wrap around porch so we’ll probably wait on this.

And this is the exact metal roof I’ve been picturing…

From iPhone 013_USED

And the driveway (except I also want a brick border)…

From iPhone 015_USED

Basically, I want this house.


Take a Short Walk Down a Long Hallway

Cutting in (that’s a real term y’all), is the pits. It’s pretty relaxing and certainly rewarding, but very time-consuming. Here’s the hallway for instance, there are seven door frames in the hallway…SEVEN. I have already realized that putting tape on the ceiling is a bad idea..removal of pop-corn ceiling leaves you with an ungodly amount of dust and it’s simply impossible to remove. Unless of course, you put tape on it and peel it off, taking your fresh new paint with it. I know it’s a cardinal rule of painting that your surface MUST be clean, but when you’re standing on a ladder with your hands in the air, breathing in 50 year old popcorn dust that you KNOW is never going to be completely gone, decisions must be made. And my decision was to learn how to cut in. It’s hard to get a clean line on these ceilings because the corners still have some residual popcorn and lets face it, there isn’t one plum line in the whole house, but I think it turned out well enough, especially since we do plan on installing crown molding at some point. With my new skill I have decided to cut in without tape around the door frames too. At first, it seemed what I save in time not taping, I use in actual painting. But I’m getting better though, as evidenced in the photo below. Plus, painters tape can be pricy!

From iPhone 004_USED

Just don’t look too close, okay?

So yeah, that’s the hallway and living room color! I can’t say it’s my top of the charts color choice, but for a neutral I think it works well. The light bulbs are all wrong here, the far one makes the walls look yellow. The front one burned out recently and I replaced it with a super bright LED, the daylight kind. I love the white brightness of it but it makes the wall color look completely different, I think it will look better with a new shade on it. Anyway, here’s the rest of the hallway painted,

From iPhone 012_USED

Can you see what I mean about the light bulbs. And I can see now that the far end of the hallway is still wet in the picture, so I’ll have to take another one soon, stay tuned!

Watching the Fog Roll In…

Do you remember the plan we had for the kitchen cabinets? In order to keep the wood grain we were going to test out some stains. Well, test one didn’t go very well. After cleaning and sanding a cabinet door that we knew we would loose, three coats of stain look like this:

From iPhone 004_USED

Since we’re not going for beach cottage chic, this semi-green white wash look is not going to work. This wood seriously did not want to take this stain. There are likely other stains that are more opaque, BUT, I happed to have a dozen and a half paint samples laying around and some time to kill. Lucky for me, we BOTH liked the first one, so stain testing ended there. I present to you, our kitchen cabinet color, Valspar’s Autumn Fog:

From iPhone 001_USED

This color is seriously the Mona Lisa of paint colors. I have tried out this color in the living room, hallway, bathroom, and even under the kitchen cabinets, it looks COMPLETLY different everywhere I have put it. Now I did spend two years of my college career studying Graphic Design, and if I learned anything from color theory it’s that color can look very different with lighting and background color. But Autumn Fog is in a league of its own. In fact, it doesn’t even look that much like the color in the picture above, it’s more blue in the picture then it is in real life. I will take a video when I get a chance, I think that will capture the true color.

Anyway, I can’t tell you how relieved I am to find a color that we both like. I cannot WAIT to start painting the cabinets. The prep work is staring me in the face though. In fact, I think we’re in the middle of a blinking contest. I’ll let you know who wins…

Let there be light!

I like light. Bright, open, and airy. In the morning, the sun shines beautifully through the east side of the house and the west facing bedrooms stay dark and cool. All day the light floods in thanks to a short over-hang, but the roof remains shaded by tall trees. It’s truly ideal, intentional or not I think the home builder was a genius (I say home builder, not designed, because we’re pretty sure this was a DIY home).  In the evening, however, the lighting is mediocre at best. Of course we are lacking lamps and missing a few light bulbs currently, but I don’t think main lighting should come from ceiling fans and table lamps, those are supplemental.

The first focus is the room with the worst lighting currently, the kitchen. The most basic fluorescent light you can buy was installed in the kitchen and softly hummed to us while we prepared our dinner. When the yellow bulbs began to flicker subtlety, it was time. I found no point in purchasing new bulbs when we had plans to replace the fixture completely. Plus, I knew there was more popcorn ceiling lurking under its rusted shell.

P1060097_USED

yuck.

From iPhone 027_USED

Yes, we replaced a light fixture at night.

The fixture we picked out is track lighting because since there will eventually be recessed lighting in here, as well as under cabinet lighting (any maybe, if I’m really lucky, some inside cabinet lighting), what this fixture needed to be was either ambient light, or task light. Keeping with our super tiny budget, we headed to Lowes to pick up something in-stock (smart move, found the perfect one for $50!). We settled on an oil rubbed bronze 4-light track,

From iPhone 036_USED

It ended up being SUPER bright, which I love, but hopefully we get it on a dimmer switch soon, because no one needs that much light to get a glass of water in the middle of the night. But you can clearly see how this light serves its purpose and how the rest of the lighting should fill in the shadows.

In Other News…

From iPhone 023_USED

You really shouldn’t let dogs around wet paint.

No Mo’ Faux

On the other side of that beautifully trimmed out opening in the kitchen is this….

From iPhone 003_USED

One can assume the fireplace was put in that location because it’s central. When we first looked at the house in mid-March the house was always toasty warm with that fireplace on. But, it’s a bit awkward where it is. We had to move it temporarily to take down the faux-stone wall behind it and the traffic flow became much improved without it there. My ideal location for it would be on the far wall of the living room, surrounded by built-ins and a mantel and the TV mounted on the wall above it (working on a sketch for this that I will share later). The propane comes in from the tank out back and I wouldn’t imagine the cost would be too high to run a new line. For now, it will probably live where it is so we can make sure the house isn’t freezing without it.

The wall behind the fireplace actually looks much more attractive in this picture than it does it real life. It seems to be 50-50 on people liking it or hating it, i’m in the later camp, so down it goes 🙂

From iPhone 007_USED

From iPhone 009_USED

I haven’t determined if Mike and Evan had fun with this one or not… they used the wonder bar to pry it off the wall. “It” being a cement/ plaster concoction on plywood, painted to resemble stone. Someone probably worked pretty hard on this but it was just out-dated, it needed to go. It came down in big, heavy chucks and Mike and Evan loaded up the trailer with it and it hasn’t been seen again.

From iPhone 010_USEDFrom iPhone 041_USED

In Other News…

From iPhone 008_USED

We have bed!

From iPhone 006_USED

Harley’s a fan.

From iPhone 009_USED

Custom window coverings. (9.19.14, this sheet is still hanging on the window, so classy)

One Step Closer

All the hardware in the house is shiny gold. This is fine on newer hardware but it only helped to make our hardware more dated. Plus, it’s worn and cheap looking. Not wanting to replace all the hardware at once, and having little desire to live with it till I can replace it, I decided to spray paint it. I’m going room-by-room. I remove the hardware, wash it with dish soap and a paper towel, lightly sand it with 100 grit sand paper. Prime it:

014_USED 7_21

And paint!

From iPhone 337_USED 7_21

The color is called “Oil Rubbed Bronze” and is mostly black with a subtly bronze sheen to it. It’s hard to see in pictures, you can kind of see it here when I hold it under the light:From iPhone 335_USED 7_21

I like the contrast against the white, it feels sort of Craftsman to me, which is one of my favorite design styles.

042_USED 7_21

Next on the agenda was the bathroom. First I painted the ceiling:

From iPhone 355_USED 7_21

Cutting in took forever. Between the door, closet, shower, toilet, and vanity, it took nearly two after-work days to finish. Rolling the rest of the color only took about 20 minutes! Evan’s Mom, Sheri, came over to help me paint. She worked on painting the master bedroom closet doors while I finished up in here, then she rolled the paint in the closet, it’s the same color as the walls.

001_USED 7_21

Ta-Da! Mom cleaned up the sink and shower and put the shower curtain and window blinds up (they are VERY temporary). This bathroom is totally move-in ready!

Still need to put the air vent back up, clean and paint or replace the ceiling fan vent, replace the mirror, install the new night fixture, paint the vanity, and paint the closet shelves. Haven’t decided on what I want to do on the floors but we might get a new toilet, in that case we will probably lay tile at the same time. You can also see here how the hardware turned out!

047_USED 7_21

The bathroom door has been down for days to be painted, so I think everyone was grateful that I could finally put it back up. Well, except for Harley…he’s not a fan of closed doors.

036_USED 7_21

I also put the shelving back up (I want to replace this stuff ASAP, it’s a weird set up right now), and re-installed the closet doors!

041_USED 7_21Mom was a huge help this weekend getting things cleaned up. She moved all the tools and painting supplies that we’ve been storing in the kitchen, into the laundry room. She cleaned out the waster and dryer, washed some windows and some other general tidying. It’s good to continue on a clean slate. I think it’s time to start stocking the kitchen.

After using the sink a bunch this weekend, apparently the but around the p-trap has been leaking like crazy. puddles of water alllll under the cabinets! All it needed was to be tighted but phew that was a scare before we figured it out!

035_USED 7_21

Hallway ceiling has also been painted, after I paint the walls Mike and I are going to start the board and batten project. Mike and Sheri have graciously said they would give us the board & batten supplies as a house warming gift!! Super super excited about that 🙂

This is still a little wet, those extra shiny spots will go away (I hope).

040_USED 7_21